Netizens Technologies Blog: IT Solutions, Web Development & AI Information

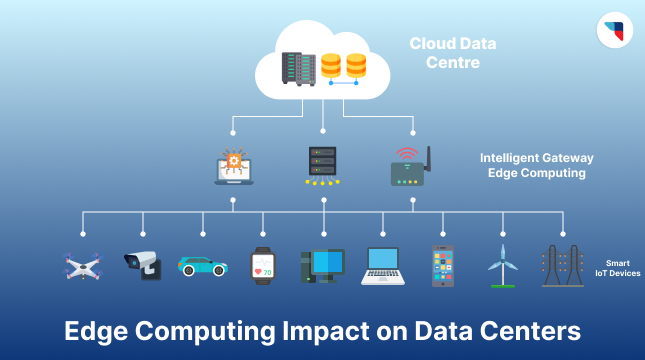
Edge Computing and Its Impact on Data Centers
Data is the most valuable asset to businesses in the modern market. The rising popularity of IoT, AI, and 5G creates the need for better data processing. Not only should


Featured Blogs
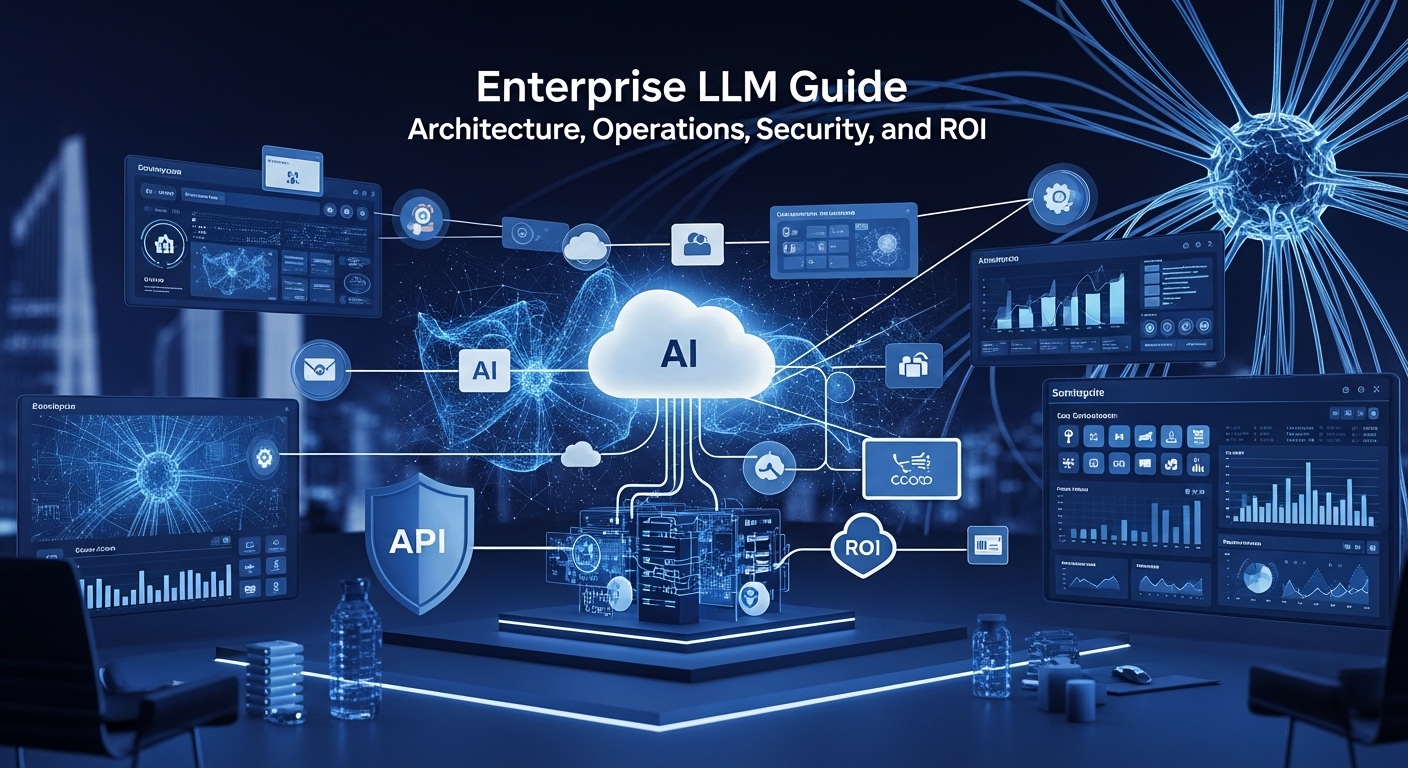
Enterprise LLM Guide: Architecture, Operations, Security, and ROI
Enterprise businesses have long been restricted by the formation of data silos across their operations. These obstacles...
Edge Computing and Its Impact on Data Centers
Data is the most valuable asset to businesses in the modern market. The rising popularity of IoT,...
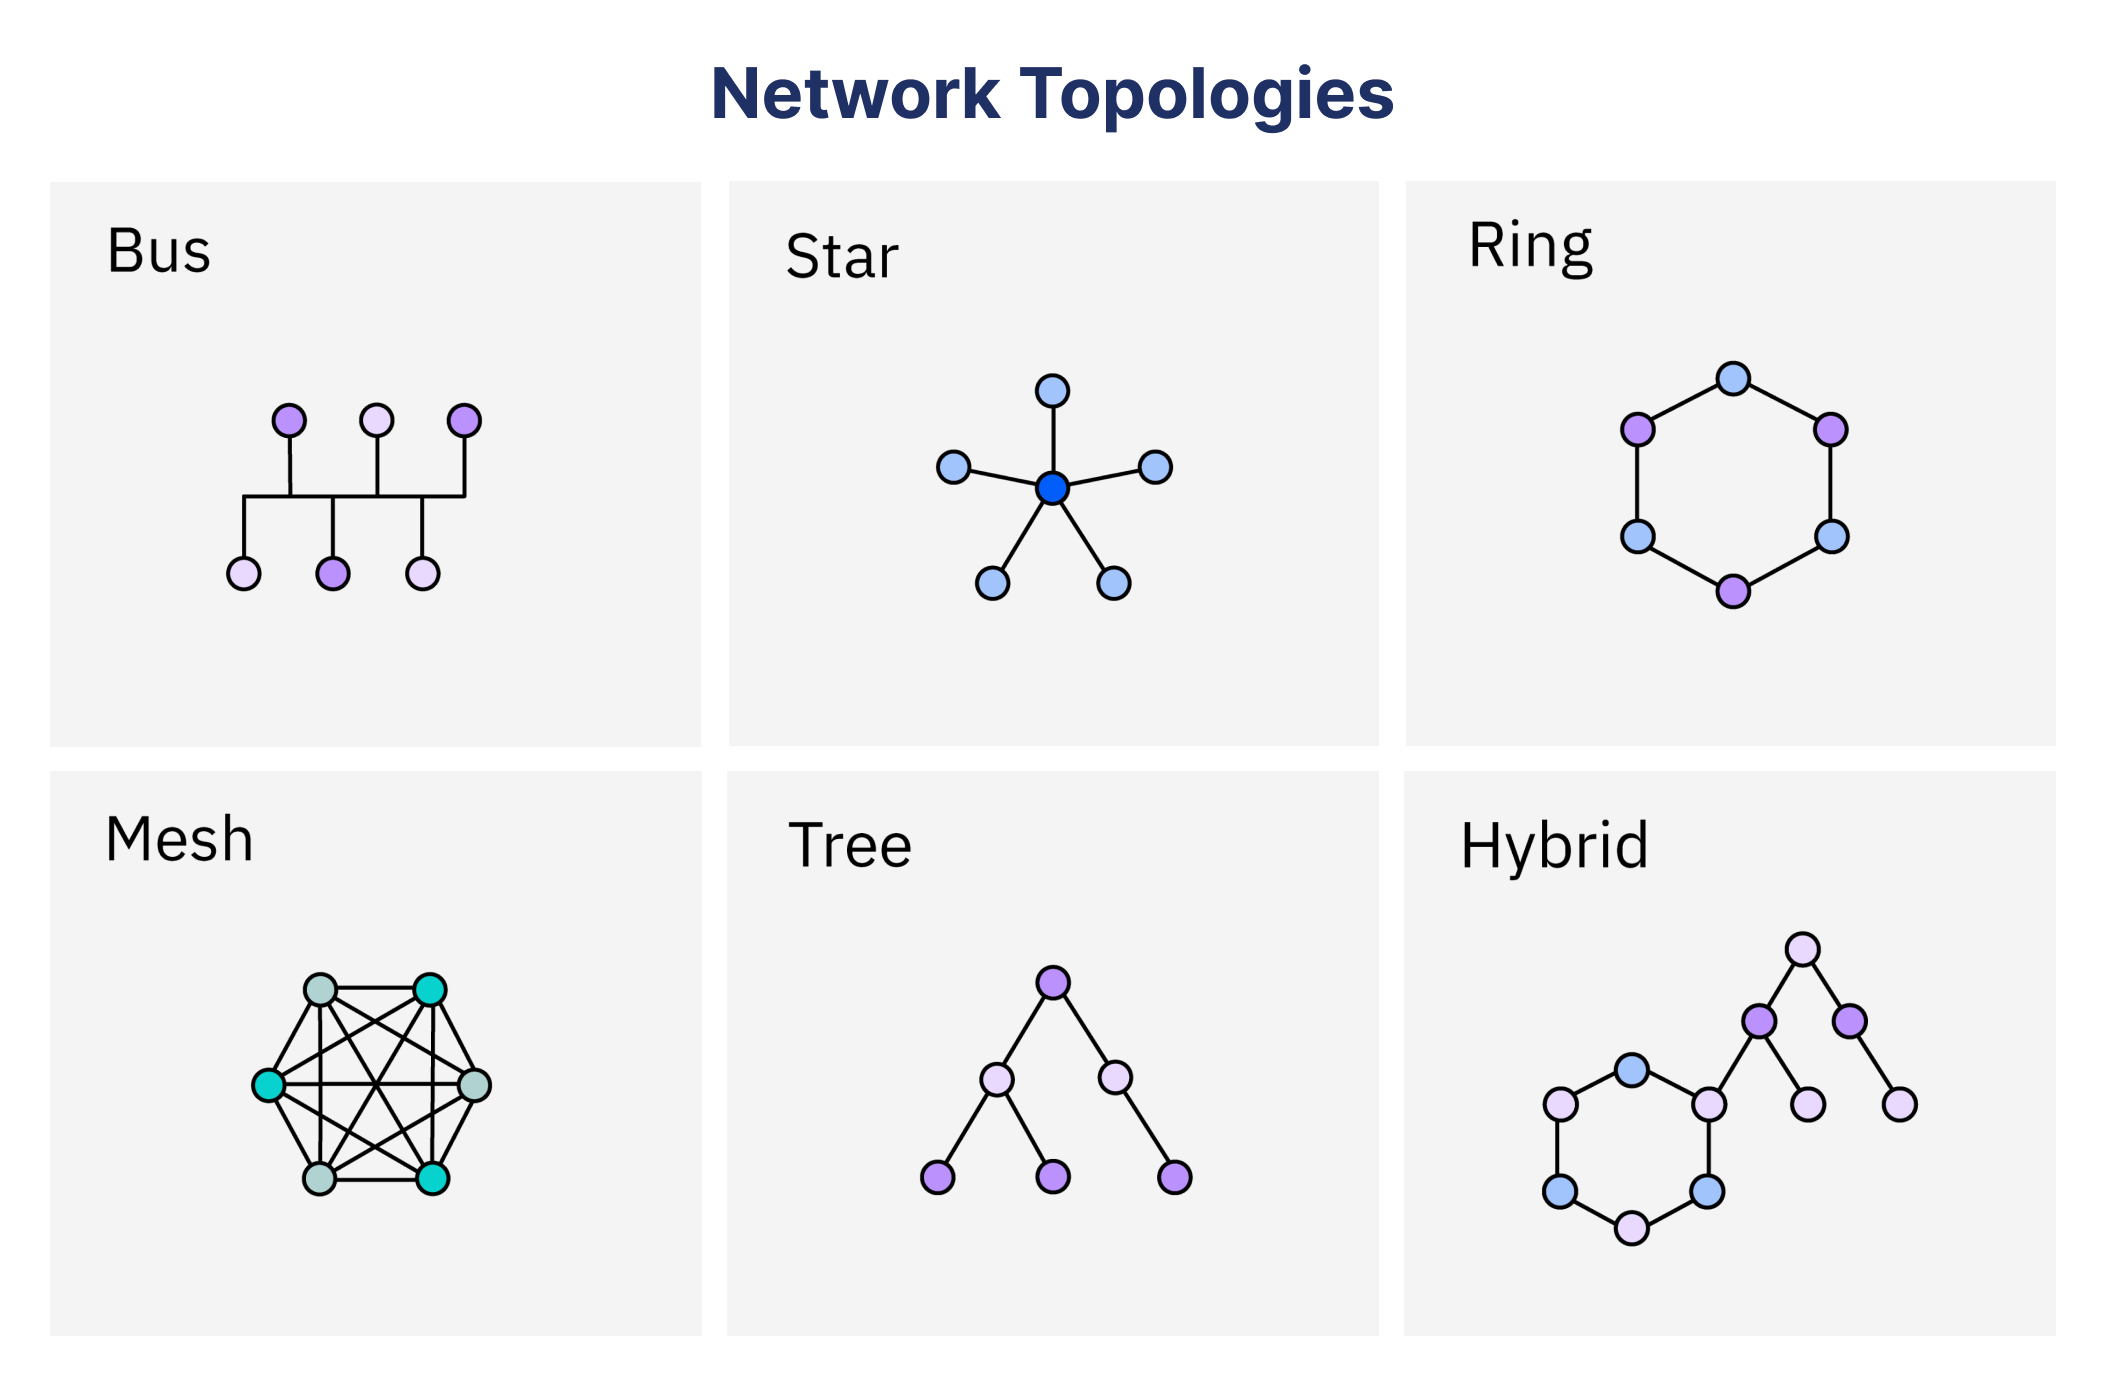
Understanding Network Topology: A Comprehensive Guide
What is network topology, and why do the different types of it matter? Network topology is the...
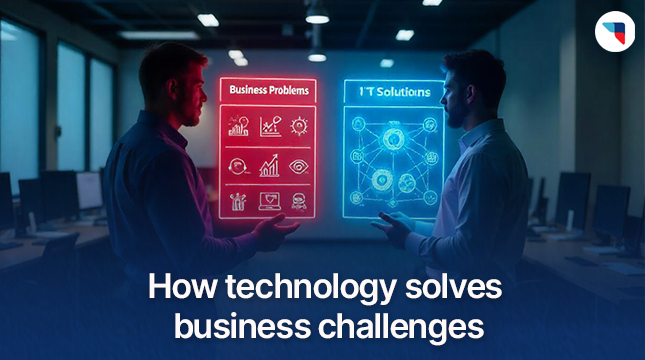
How Technology Can Solve Business Challenges
Throughout the years, technology has become an asset, helping companies achieve success and realize their potential. It...


Join 1000+ Subscribers
Get the latest updates on design, development, and technology trends right in your inbox.
Subscribe
Featured Articles
How Businesses Can Save Energy with Smart IT Solutions
The overreliance on non-renewable energy sources for business is evident in global warming and the depletion of fossil fuels. The insatiable energy consumption required for AI systems to compute is
The Ethical Implications of Facial Recognition Technology
Facial Recognition Technology (FRT) has seen rapid growth and widespread application across industries like law enforcement, retail, and social media. While FRT offers valuable benefits, its use raises important ethical

Let's Start Your Project
Get free consultation for your digital product idea to turn it into reality!
Get Started